4 Ways to Get Tez on Etherlink
Explore the easiest ways to add tez (XTZ) to your Etherlink wallet today.
5 minute read
Updated: October 07, 2025. This article has been refreshed to include KuCoin, Gate.io, and Jumper Exchange support for Etherlink.
The Etherlink ecosystem has been growing fast, with more projects being announced almost every week. From gaming, to decentralized finance (defi) projects, to NFT drops that are selling out in the first few hours, these are some reasons to keep some tez handy on Etherlink and partaking on the fun.
But how can you get your hands on some $XTZ in your wallet on Etherlink? Well, even though the Etherlink ecosystem is fairly new, there are already 4 different ways you could do that and in this article, we will cover them all. Let’s get right into it!
1. Bridging from Tezos L1 and other EVM ecosystems #
First up we got bridging, which is the most direct way to move funds over to Etherlink.
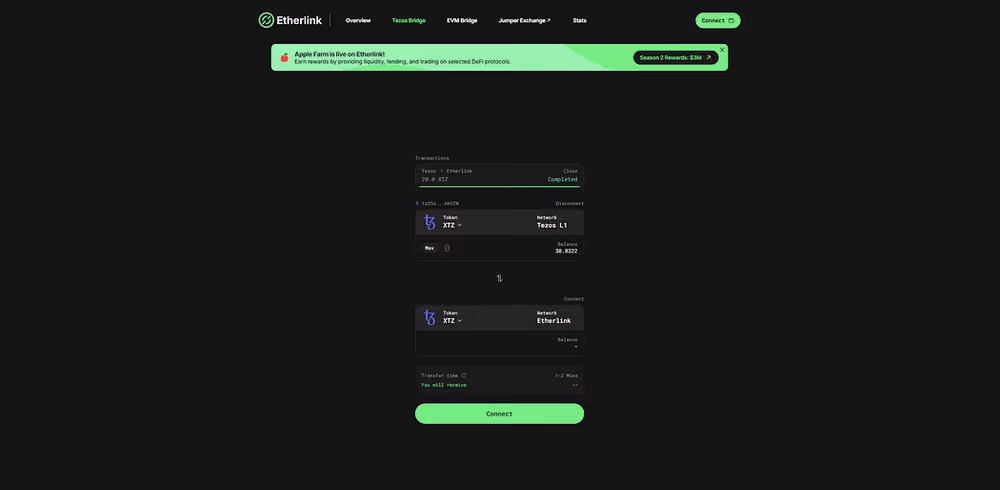
If you are already a Tezos user, the native bridge between Tezos Layer 1 and Etherlink is the easiest way to go. The steps are simple:
- Buy some XTZ on any centralized exchange like Binance, Kraken, Coinbase, Kucoin, Gate, etc.
- Withdraw those XTZ to a Tezos wallet like Kukai or Temple.
- Go to https://www.etherlinkbridge.com/tezos-bridge and connect both your Tezos and Etherlink wallets.
- Choose the amount you want to bridge to your Etherlink wallet and confirm.
The XTZ should show up in your Etherlink wallet after a few seconds.
If you are coming from other ecosystems, Etherlink also has an EVM bridge that supports chains like Ethereum, BNB, Base, Arbitrum, and more. This bridge lets you bring tokens from those networks into Etherlink and then swap them for XTZ on a decentralized exchange like IguanaDEX. Just be sure to check liquidity before swapping to avoid large slippage.
2. Using a Centralized Exchange #

If you are planning to do trades, arbitrage, and other stuff that require you to use a centralized exchange more often, centralized exchanges are a very straightforward option.
- Gate (formerly known as Gate.io) was the first major exchange to add support for Etherlink (March 2025), letting you deposit and withdraw XTZ directly on the network.
- KuCoin is the most recent addition (September 2025), giving users another large and liquid platform for moving XTZ straight to and from Etherlink.
- AscendEX, while smaller, was actually the very first exchange to support XTZ on Etherlink back in 2024, paving the way for the bigger players to join later.
In all cases, make sure you select Etherlink as the network when moving your funds.
Keep in mind that as with all centralized exchanges, you will need to open an account and do the required KYC of each exchange to use this method.
3. Buying XTZ on Etherlink with fiat: Transak #
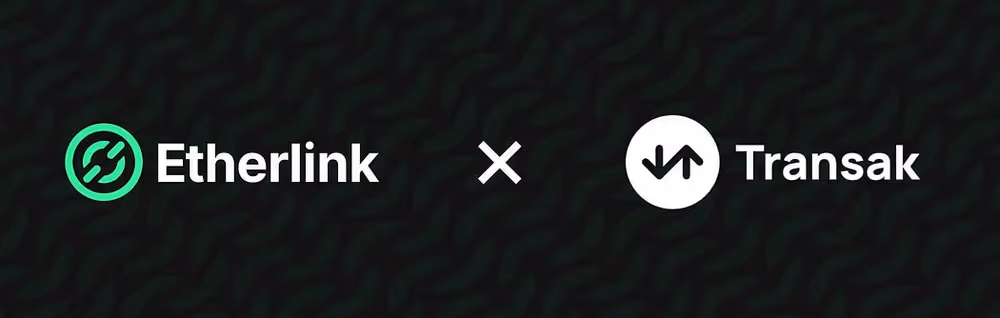
Another straightforward way to get some XTZ straight to your Etherlink wallet is through Transak. Transak is a fiat on-ramp service that allows you to buy XTZ with your local currency using SEPA transfers, credit/debit card, Apple Pay, or Google Pay.
If you choose to use Transak, make sure you choose the Etherlink network and the XTZ token (not WXTZ). The service has a minimum buy of $20 and depending on the payment method you choose, the fee can be from 1% up to 4.5%. Lastly, as with any on-ramp services, Transak will ask you to go through KYC, but it is an easy one.
4. Jumper Exchange: One-click cross-chain to Etherlink #
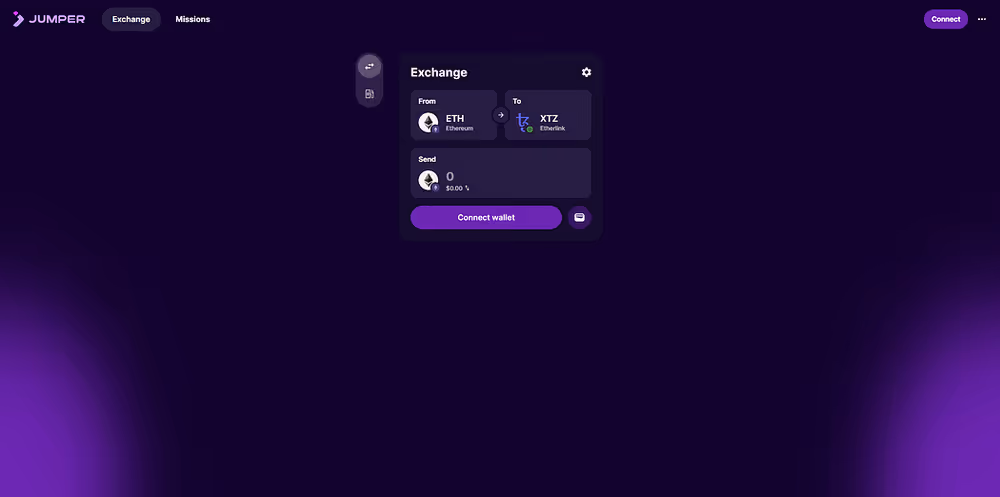
Another fairly recent addition is Jumper Exchange (powered by LI.FI), which lets you bridge to Etherlink from dozens of other chains in just one step. Unlike the native EVM bridge, Jumper works as an aggregator, automatically finding the best route across bridges and DEXs so you land directly on Etherlink. Once there, you can easily swap into XTZ on a DEX like Iguana.
This is one of the most user-friendly ways to start from other ecosystems and end up with XTZ in your Etherlink wallet.
While Etherlink is already showcasing significant growth with its projects and integrations, it’s important to remember that this ecosystem is still relatively new. As it matures, we can expect to see more integrations with centralized exchanges and user-friendly on-ramp tools, making it even easier to access and utilize XTZ on Etherlink.
If you’re excited about the potential of Etherlink and want to be an early explorer, now is the perfect time to dive in. Choose the method that suits you best, get your hands on some XTZ, and start exploring Etherlink today!